
How to use the host control panel
1. Make sure that you are a moderator. Only Moderators see the Control Panel.
2. The Moderator Control Panel will be on the far left side of the page.

A. Audience tab
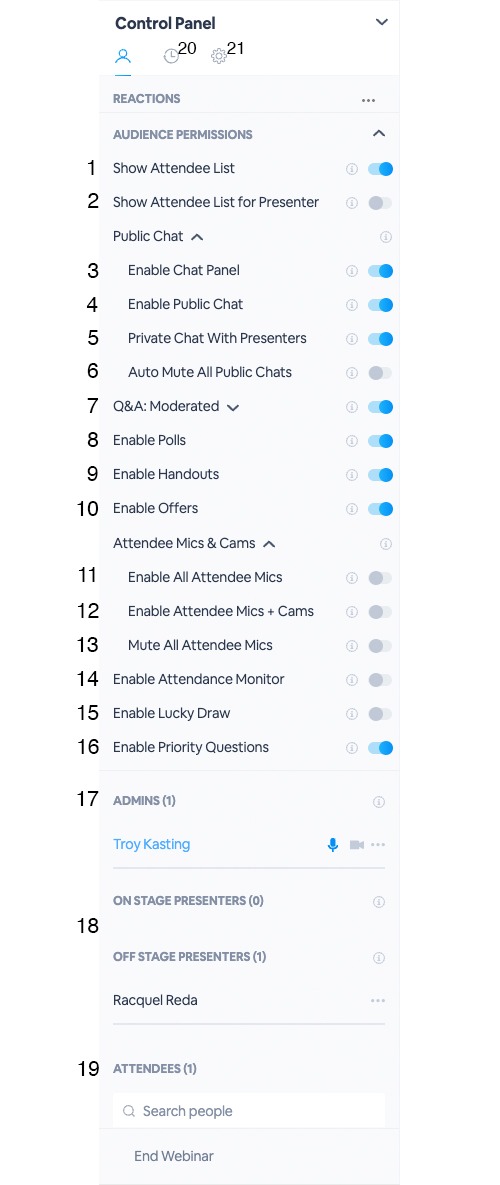
Match the numbers in the image to the numbered list below for details about each feature on the Audience tab.
-
Show Attendee List: The audience can see the list of everyone in the webinar room within the Private Chat window.
-
Show Attendee List for Presenter: The presenters can see the list of everyone in the webinar room within the Private Chat window.
-
Enable Chat Panel: Enable/disable the ability for attendees to submit chat messages. Warning: Disabling the chat panel will also remove the attendee list from the Private Chat window.
-
Enable Public Chat: Enable/disable attendee chat.
-
Private Chat With Presenters: Enable/disable private chat with presenters and moderators.
-
Auto Mute All Public Chats: Mute/unmute all public chats.
-
Q&A: Moderated: Toggle Q&A Engagement Feature on/off. Select arrow icon to view additional Q&A options.
-
Auto-publish: Questions from participants are published to everyone automatically.
-
Moderated: Questions go into a queue. Presenters choose which ones to publish.
-
-
Enable Polls: Enable/disable polls.
-
Enable Handouts: Enable/disable handouts.
-
Enable Offers: Enable/disable offers.
-
Enable All Attendee Mics: Allow attendees to enable their audio feed only.
-
Enable Attendee Mics + Cams: Allow attendees to enable their audio and video feeds.
-
Mute All Attendee Mics: Mute all attendee mics.
-
Enable Attendance Monitor: Enables hosts to send pop-ups to attendees, which they must click to indicate that they are engaged and paying attention to the presentation.
-
Enable Lucky Draw: A gamification feature that will select an attendee from your event’s audience at random to receive a prize.
-
Enable Priority Questions: Moderators/Admins can mark questions as priority for Presenters to prioritize during discussions or events.
-
Automation Tab: This tab ONLY applies to automated webinars. If you're hosting an automated webinar, your automation timeline will be displayed in this tab so you can follow along if you'd like.
B. Audience tab: Reactions
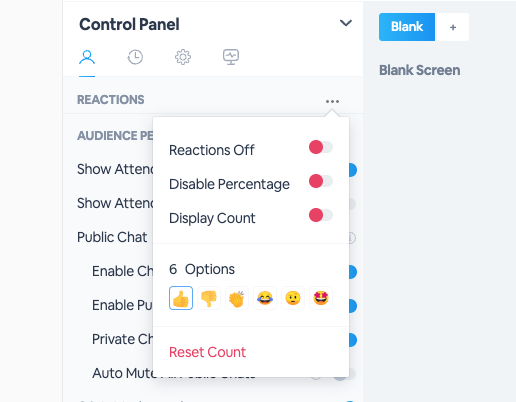
When you click on the three dots next to Reactions you will notice that this option can be toggled on or off. The Reactions feature is an interaction that will allow the attendees to send emojis as reactions when the webinar is live.
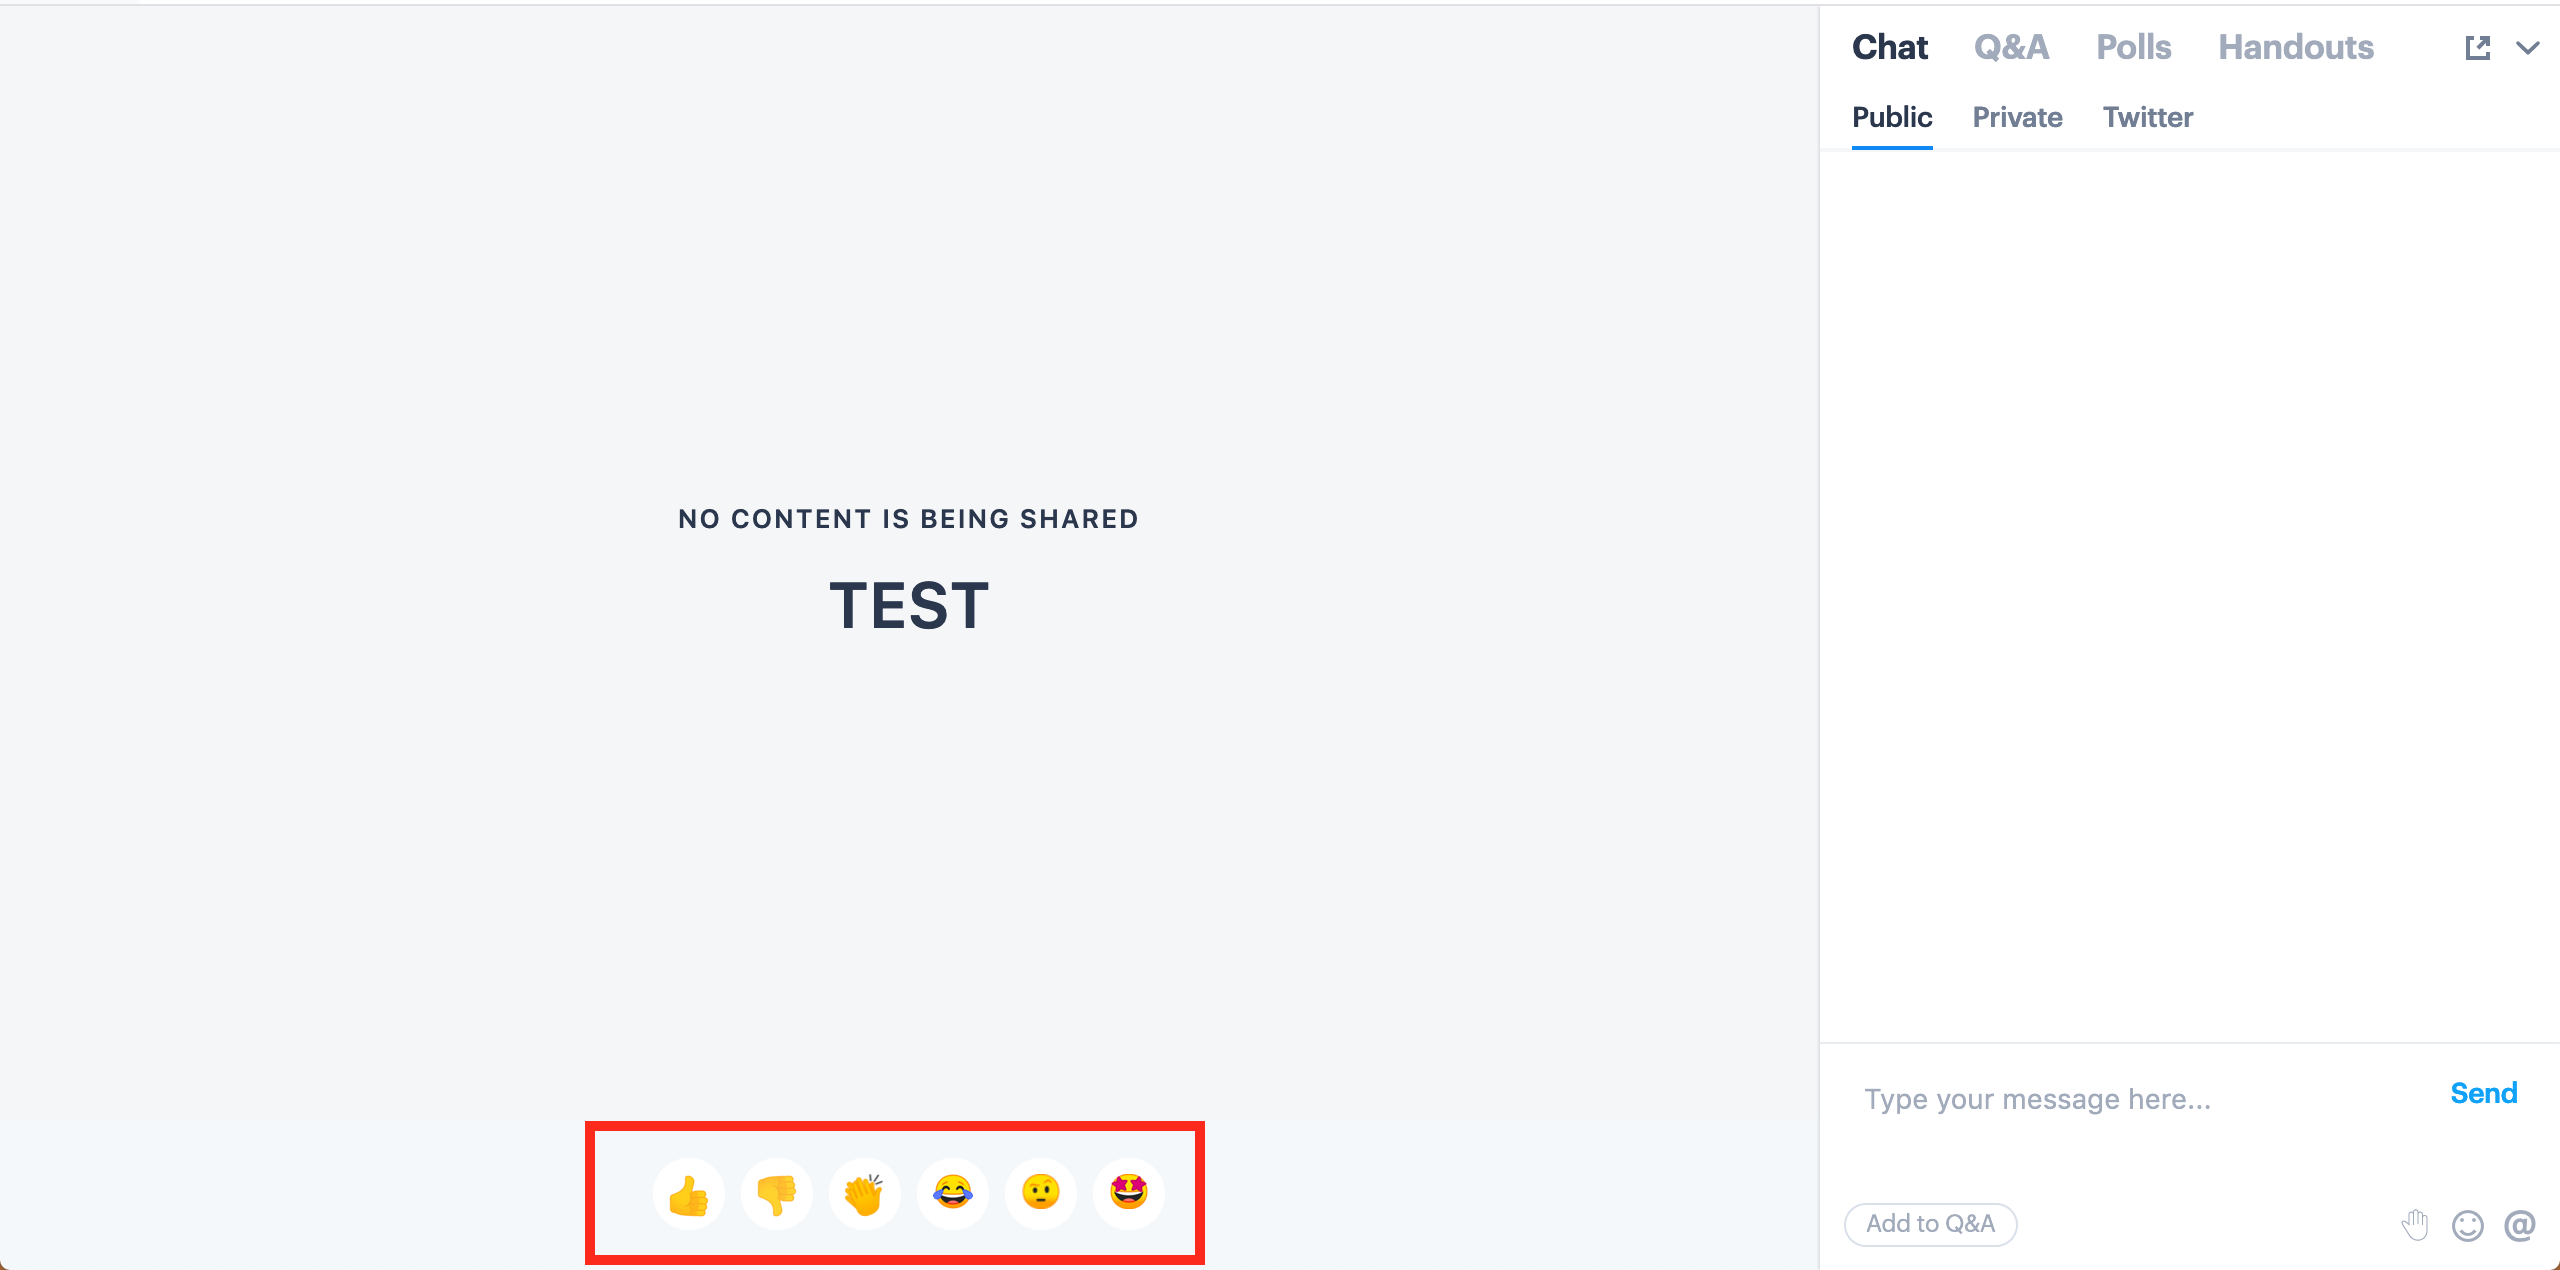
When the feature is turned on, the attendees will be able to send reactions. They will be able to find this option at the bottom of the screen. Attendees will only be able to choose one reaction when the feature is turned on.
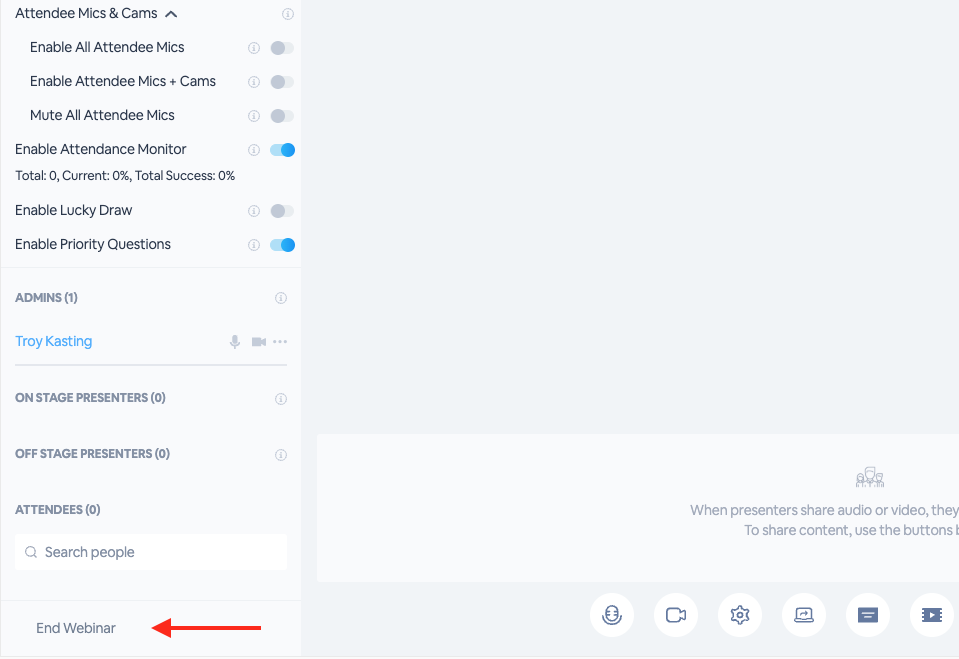
End Webinar button
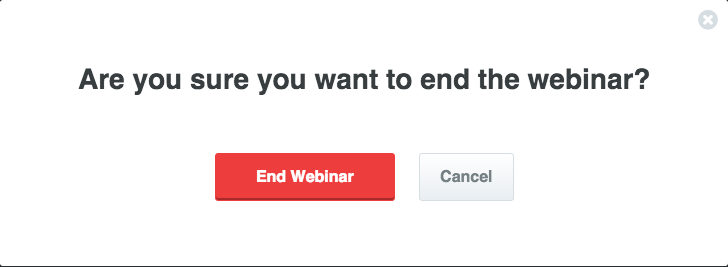
Clicking the End Webinar button will immediately end the webinar (regardless of the time left) and remove everyone else in the room. Only a Moderator can end a webinar.
You will be asked if you are sure:
Comments
0 comments
Please sign in to leave a comment.